A 3d-printed moon nightlight
I’ve been continuing to put my 3d printer through its paces recently, and found out about an intruiging use for 3d printers: printing lithophanes. Lithophanes are objects made from translucent material where the thickness is modulated to produce an image when backlit. One of the most interesting such prints I found was a spherical moon lithophane–which begged me to design and make a nightlamp surrounding it.
Lithophanes are particularly well suited to FDM 3d printers; the ability to easily customize the thickness of a wall allows for many detailed images to be rendered using the “starter filament” of white PLA. Many lithophane generators also exist that can translate an image into a model. The resolution of such a lithophane when printed vertically is limited by the layer height when printing.
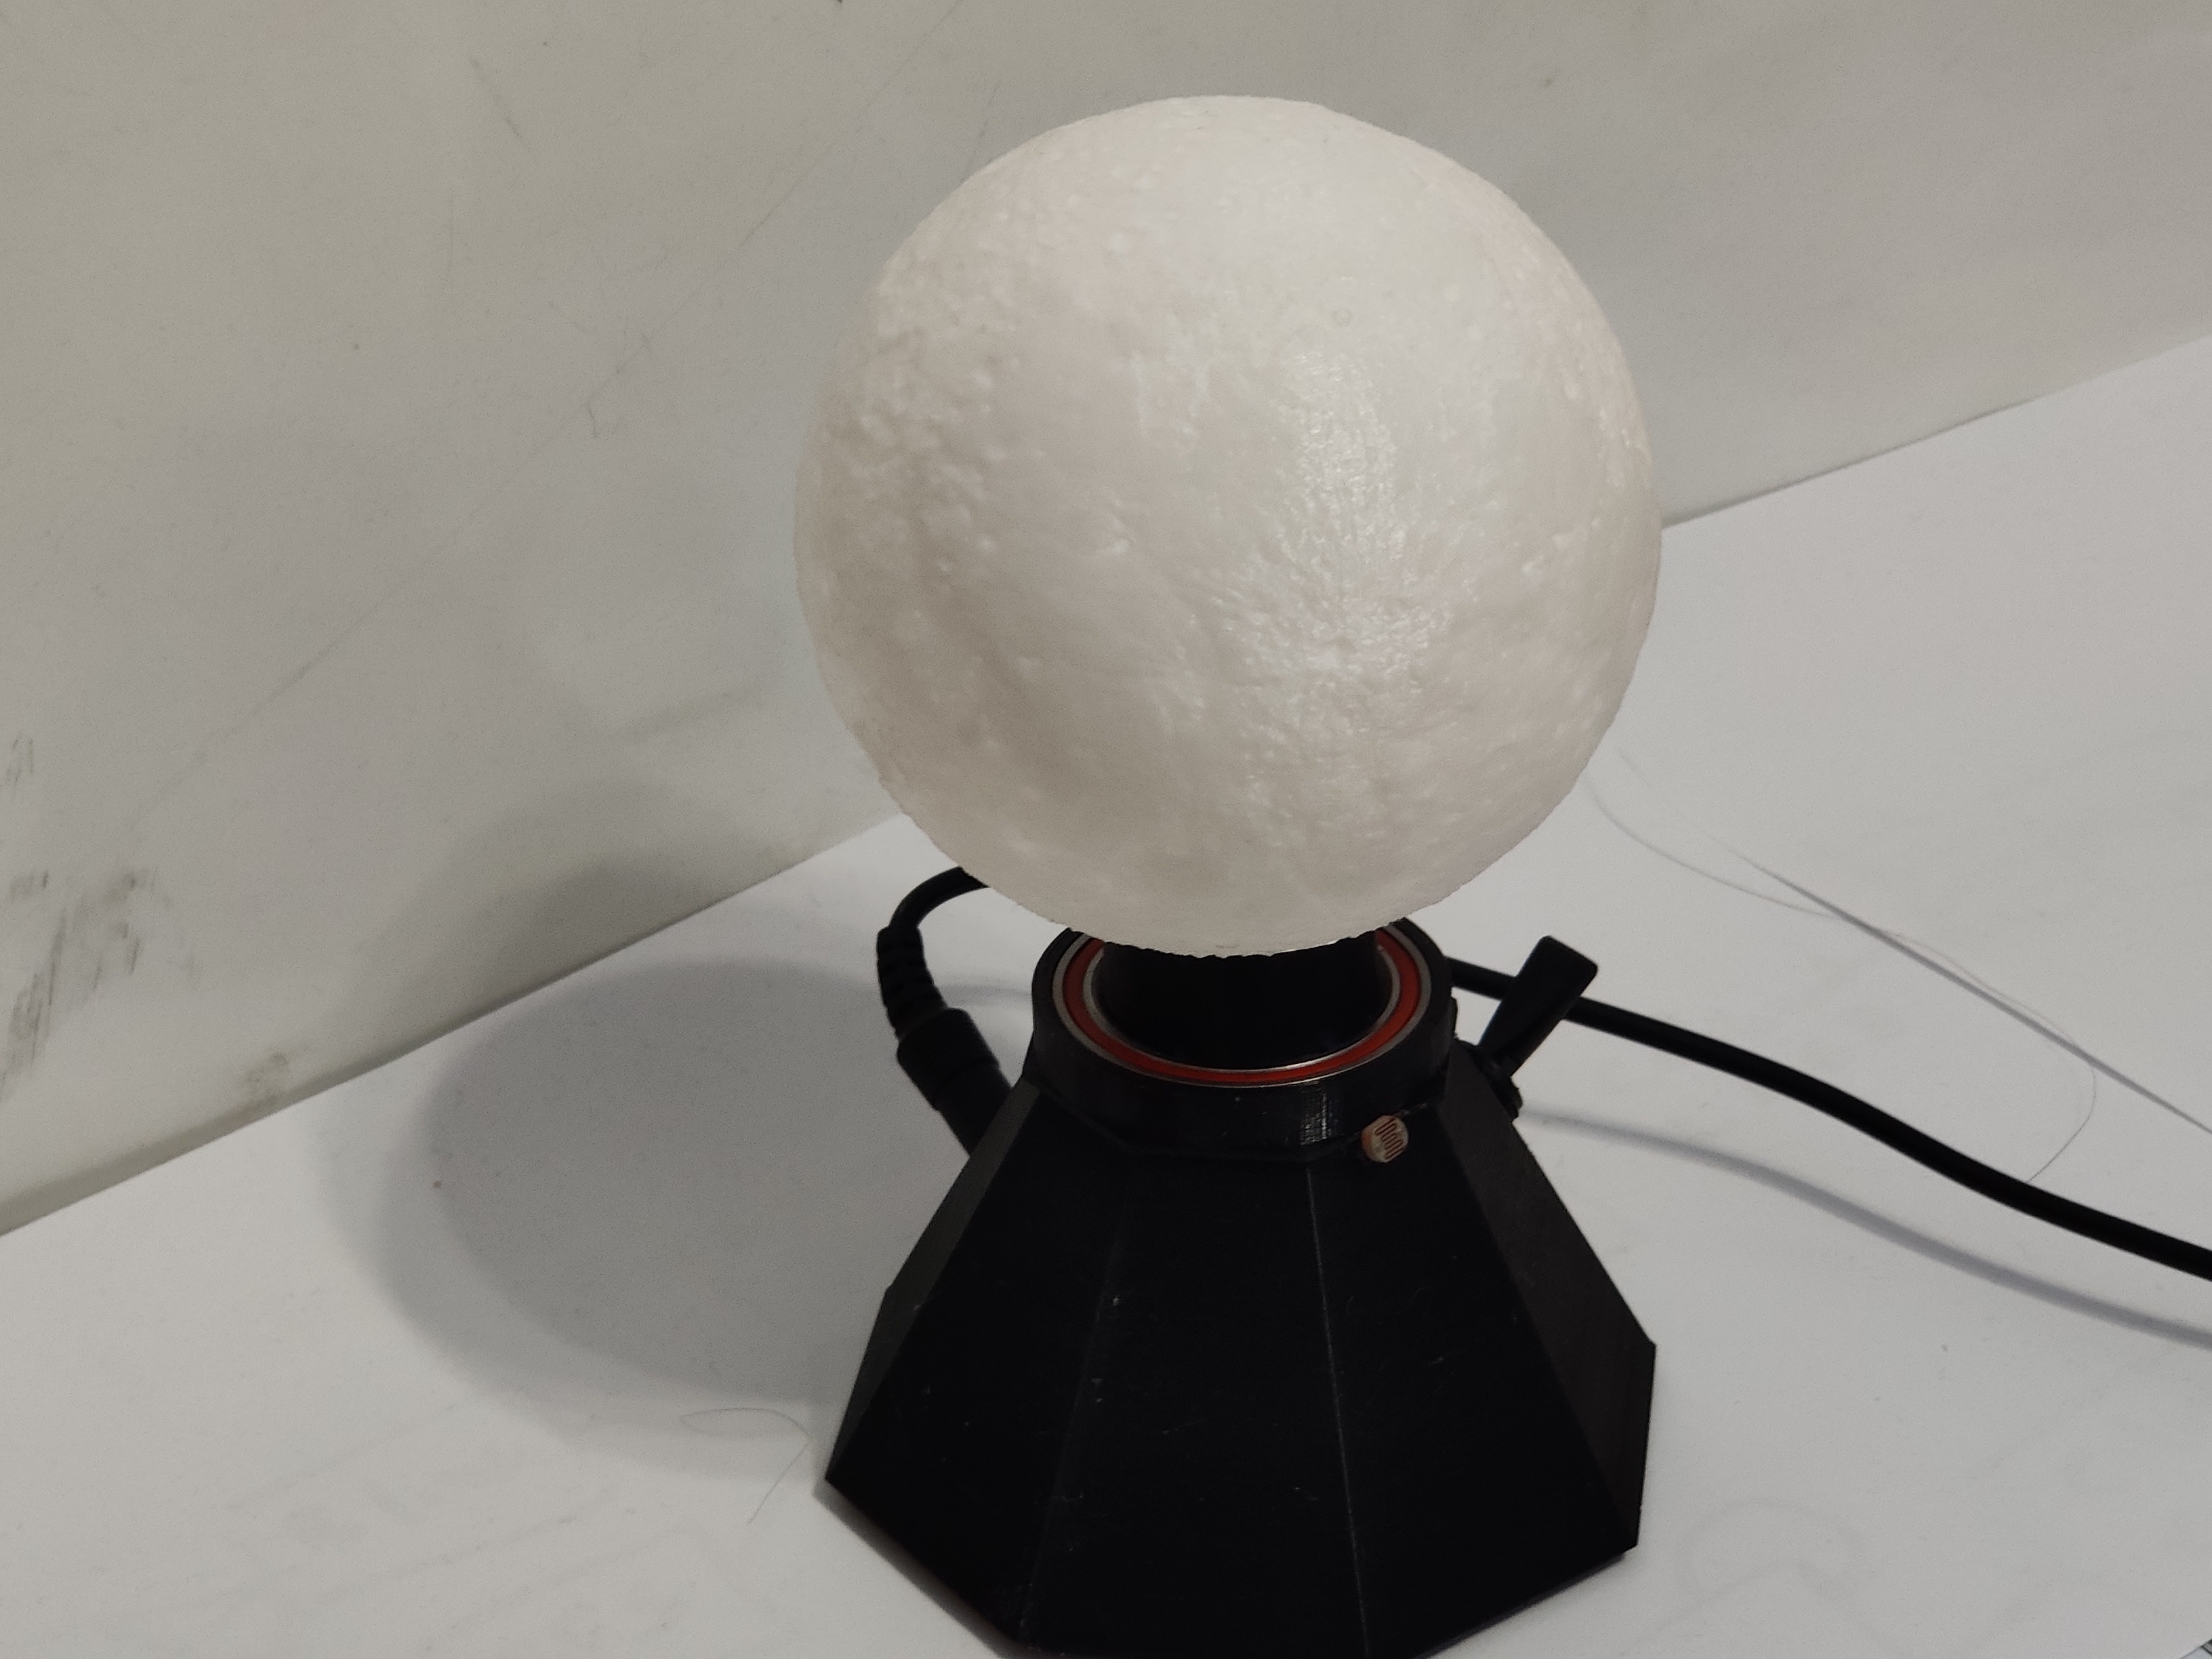
The moon lithophane did not need any customization; it was a popular model on thingiverse and had the interesting distinction that most of the details are contained within the sphere so the external appearance also looks like the moon. I printed out the 3.5” version, which took nearly 24 hours to print at 1.2mm layer resolution. I didn’t need supports but I did use a raft to maximize the first layer adhesion on my Ender 3 V2.
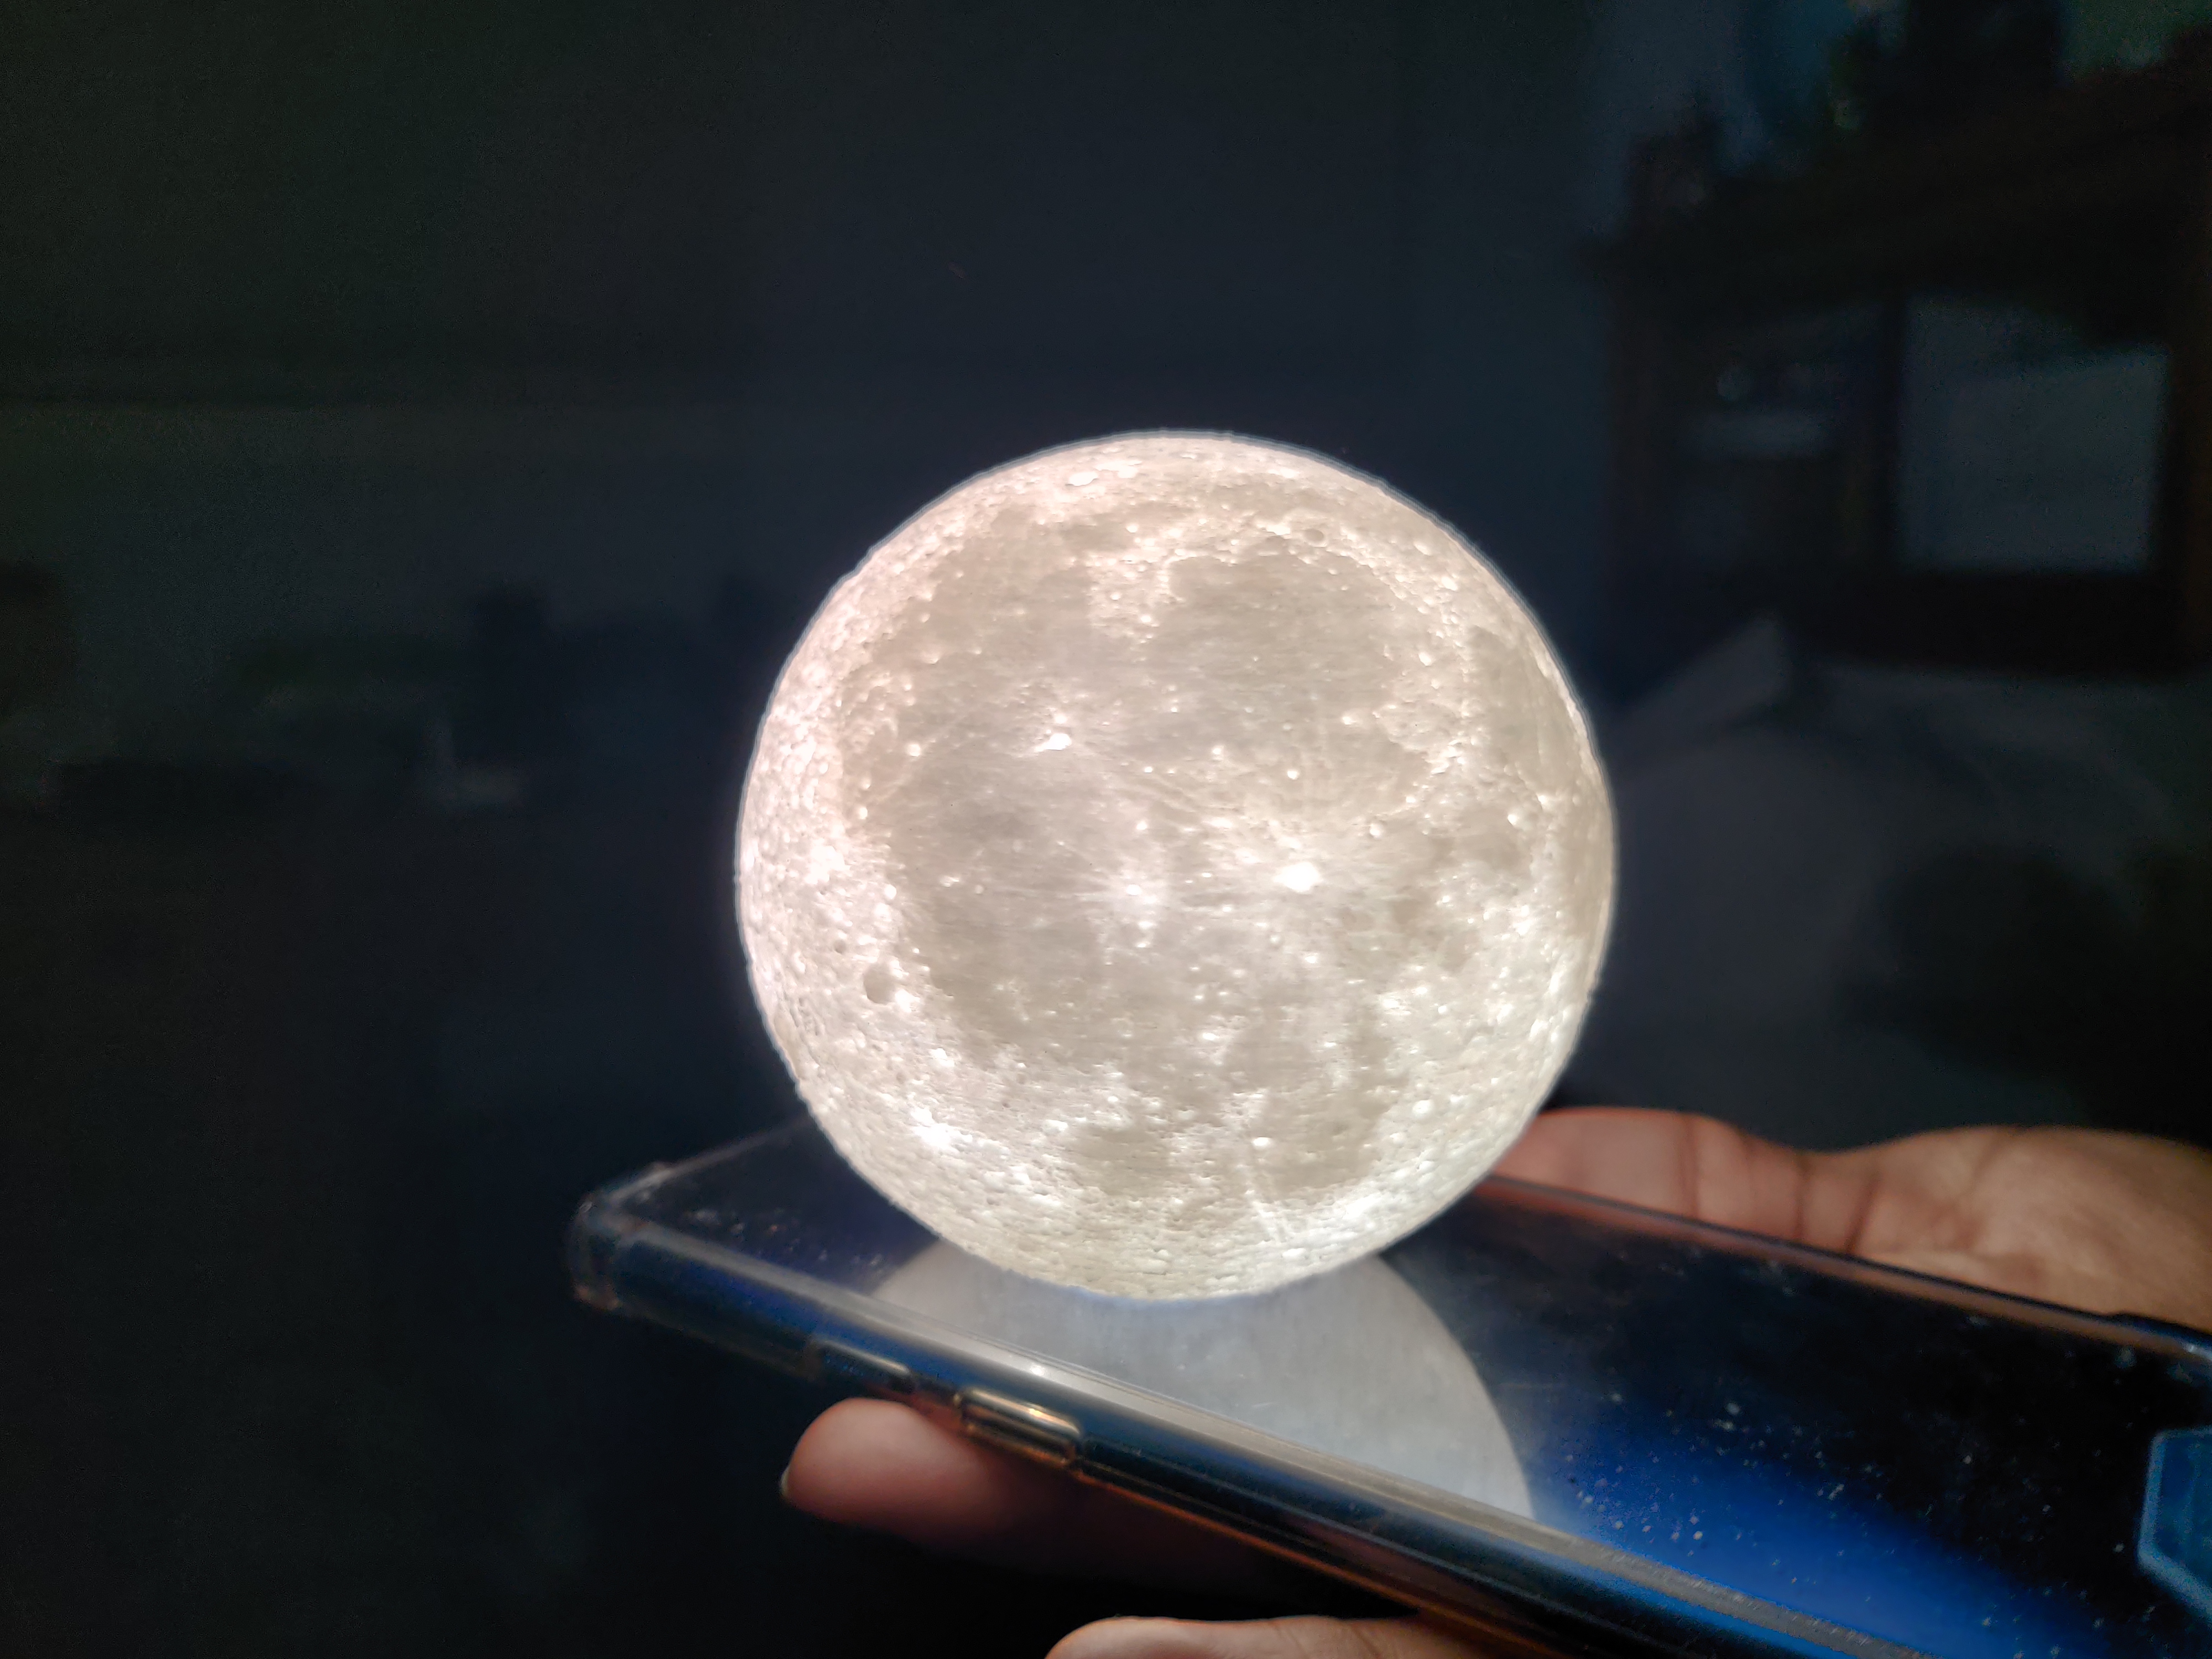
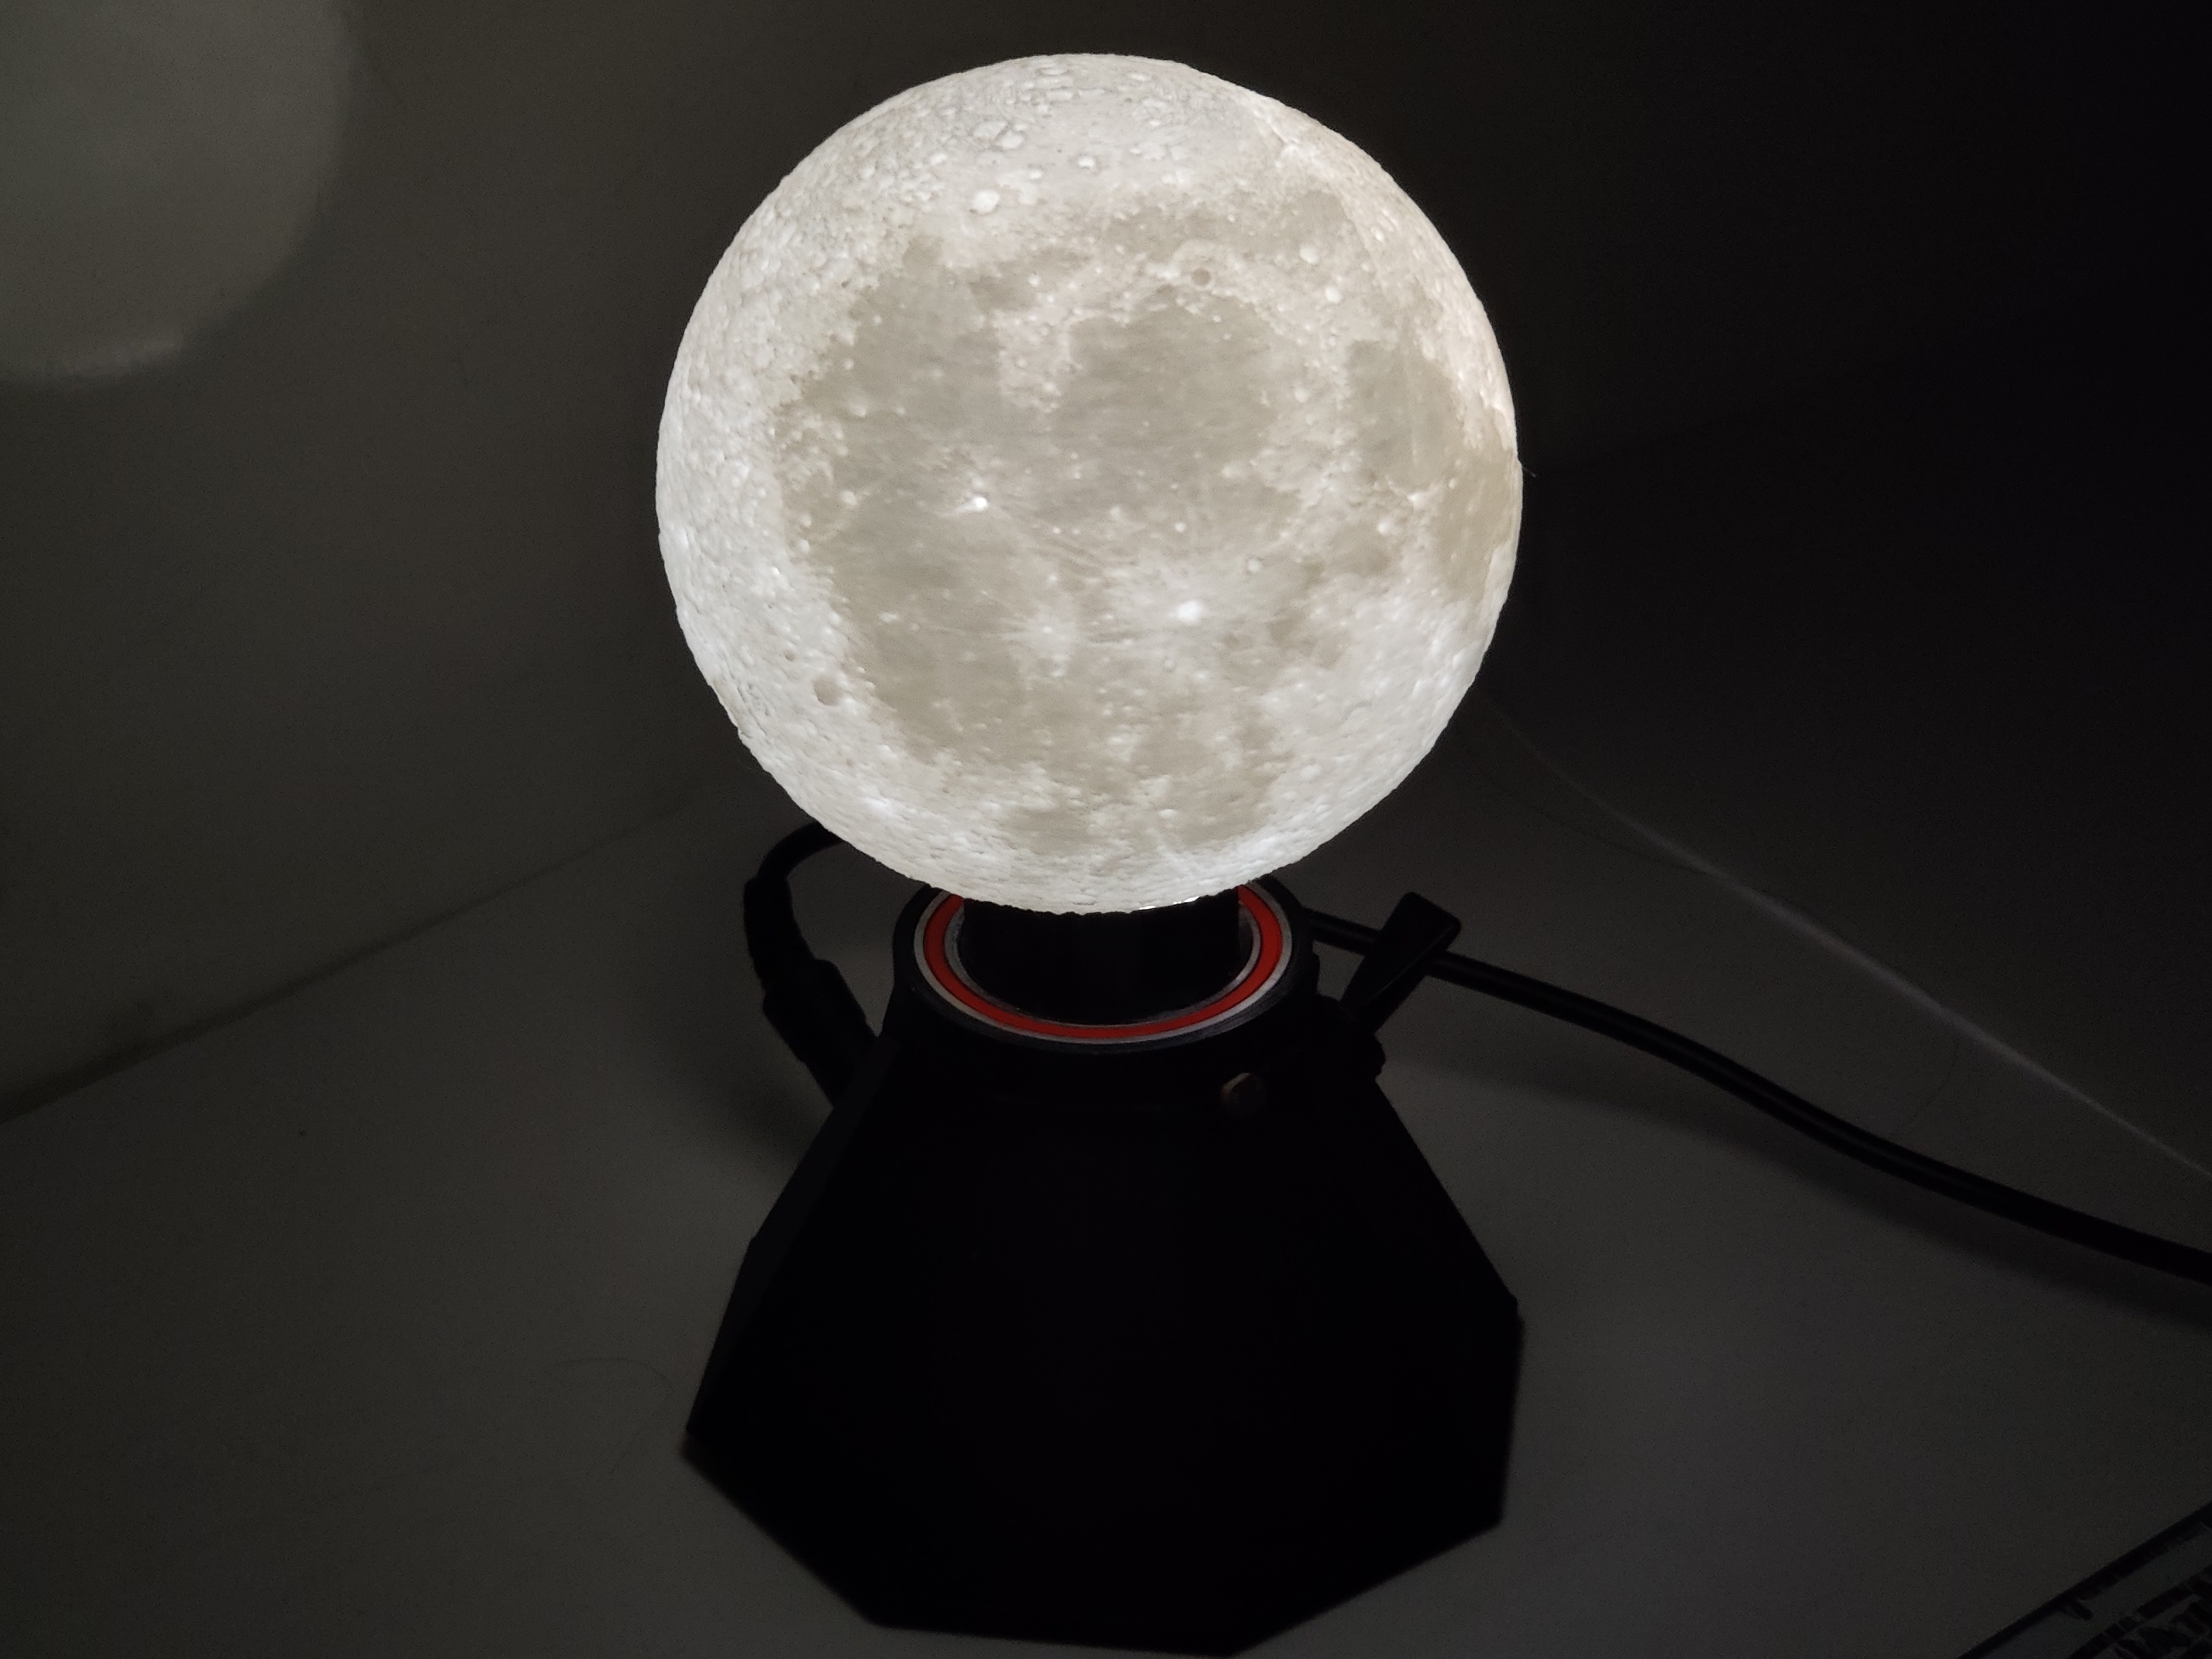
However, the moon itself needed to be illuminated from the inside. A phone flashlight worked surprisingly well, but I wanted something more permanent. In addition, I wanted to allow the moon to be revolved to view it from all sides. I decided to design a base for the moon that would simultaneously illuminate it and allow it to rotate.
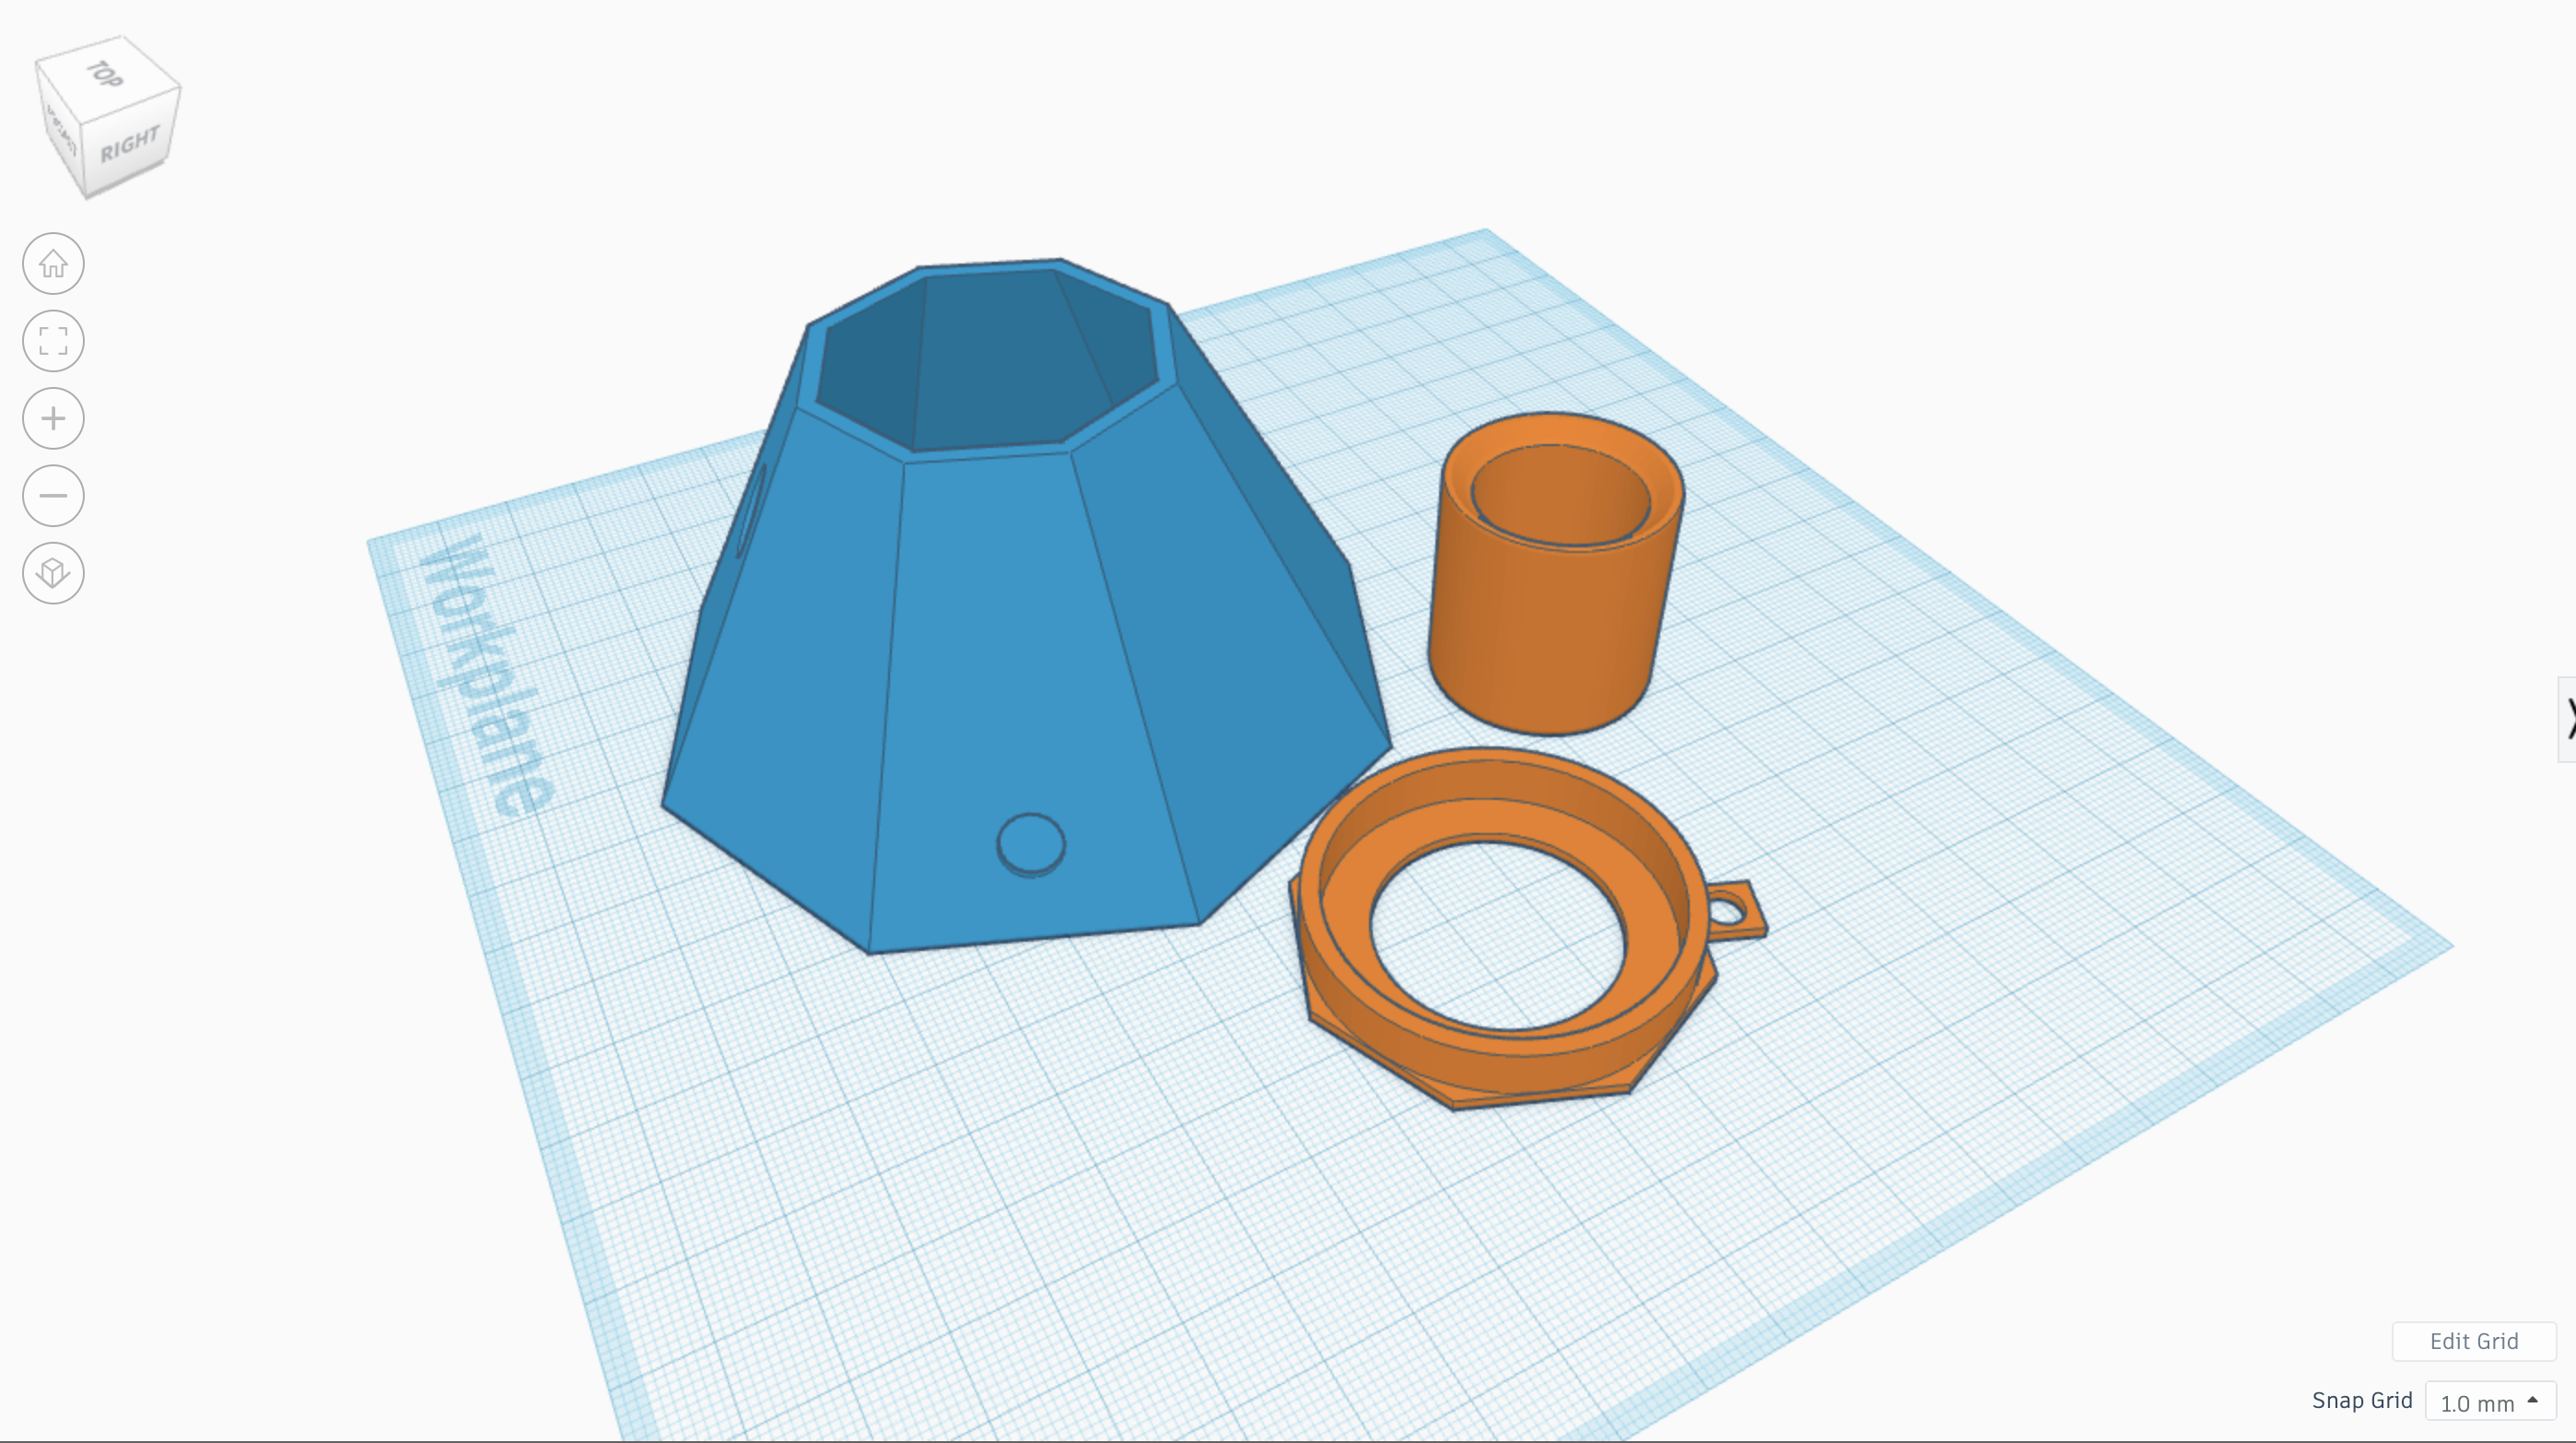
The design I made incoporated a bike bearing I had lying around from a previous project with an outer diameter of 48.1mm. I printed out a tube with a diameter of 30mm to fit into the inside of the bearing to which I would attach the moon and allow it to rotate freely.
I also wanted the lamp to switch on automatically at night or when light levels were low, so I made a circuit to turn some LEDs on when a photoresistor detected light below a certain threshold. I had to play around with the resistance to get the threshold right so the LEDs would be off at illumination levels above that of an average room, but turn on below that. The values I found for this are in the circuit diagram below:

Finally, I soldered together the components (all of which I also had lying around from previous projects) and printed out the components of the base. I used a few dabs of superglue to affix the bearing into the top of the base and a few more to affix the tube to the bearing. I then used hot glue to mount the moon. Lastly, I put the components inside the hollow base and wrangled the port and switch into the holes I had 3d printed for them.