A foldable model of JWST
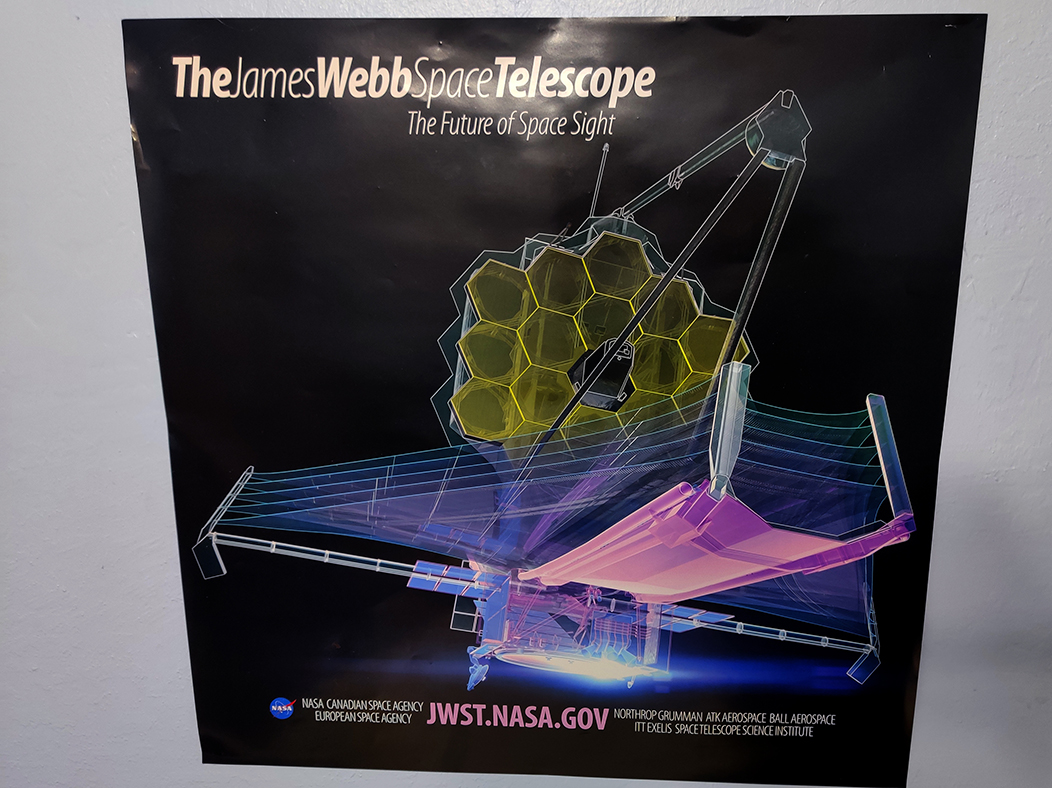
I’ve been very excited for the launch of the James Webb Space Telescope (JWST) for a long time. So long, in fact, that I’ve had a JWST poster up in my bedroom since about 2012 or 2013, when I was 12 years old.
In addition, when I was in middle and high school I was enthusiastic about science fairs, and coincidentally, I was interviewed by both the chief scientist for JWST and the chief engineer, both well before JWST launched. So JWST’s recent launch was something that was on my radar for years. Watching the launch itself was a little underwhelming; the rocket disappeared into the Kourou clouds a few seconds after liftoff and most of the rest of the webcast was animations of the rocket stages and other deployments. The most exciting moment of the launch was when the camera on Ariane’s upper stage caught a glimpse of JWST’s solar arrays deploying just in time.
I came away wanting something more tangible to commemmorate the occasion–something I could point to and say: “Look, this is the process by which JWST will unfurl in all its complexity.” My idea was to make a 3d model of JWST, complete with at least some of the folding structures. I had a 3d printer, which I’ve still been learning how to use. So I hopped on thingiverse and found this model, which seemed perfect.
Build process
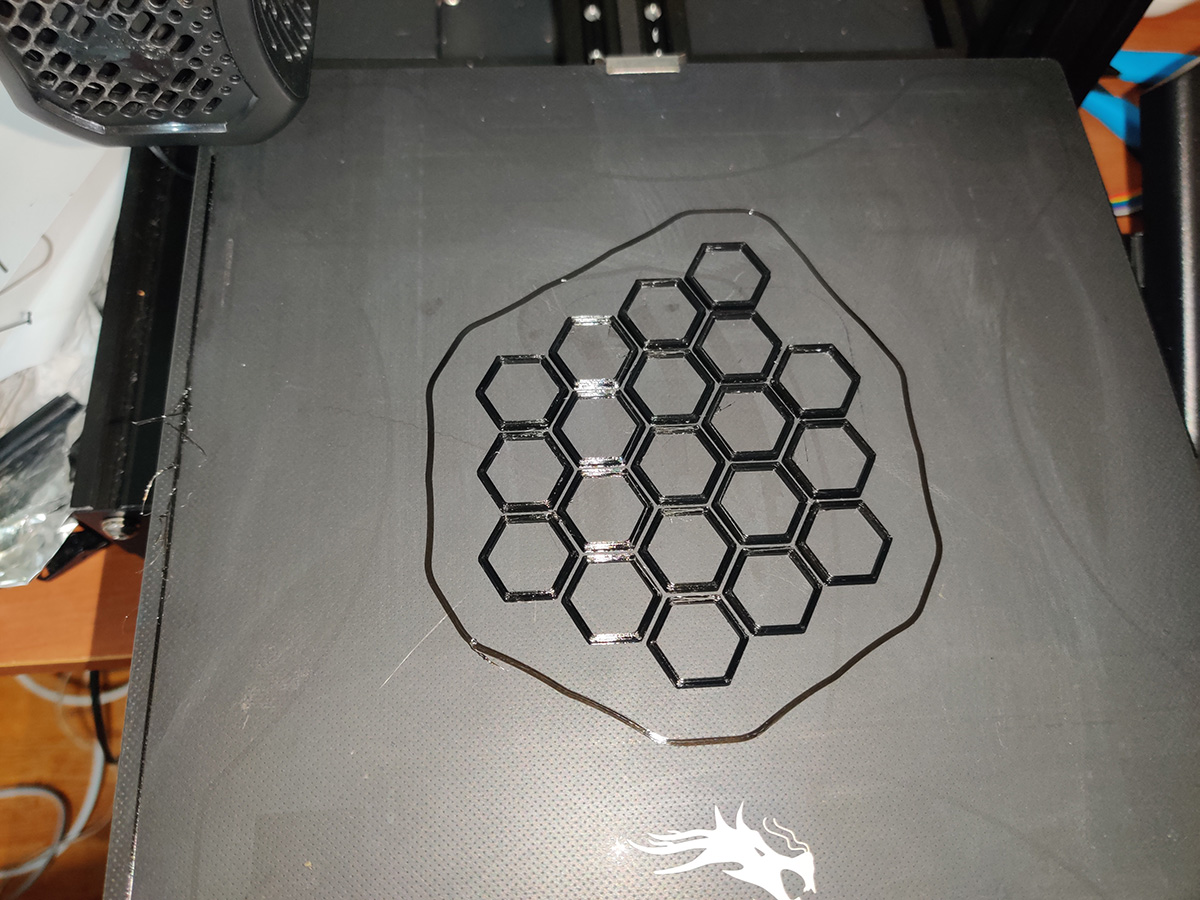
I initially wanted to finish the project by JWST’s first deployment, but true to the real life version, it underwent several delays. I totally underestimated the difficulty of assembling various 3d printed parts into the finished structure. The first step was to print out the 19 hexagonal mirror supports:
I then had to print out two parabolic parts which are not in the final model but serve as guides to glue together the mirror supports into the concave mirror shape of JWST. Gluing the mirror segments was by far the most time consuming part of the model and gave me a tiny bit of appreciation for how difficult the beryllium JWST mirrors were to fabricate. I ended up using hot glue to temporarily bond the mirror supports to the guides, and then using superglue to bond the supports to each other. I found that running superglue under the faucet speeds up setting, but at the cost of leaving white foamy residue on the model, which I had to paint over later.
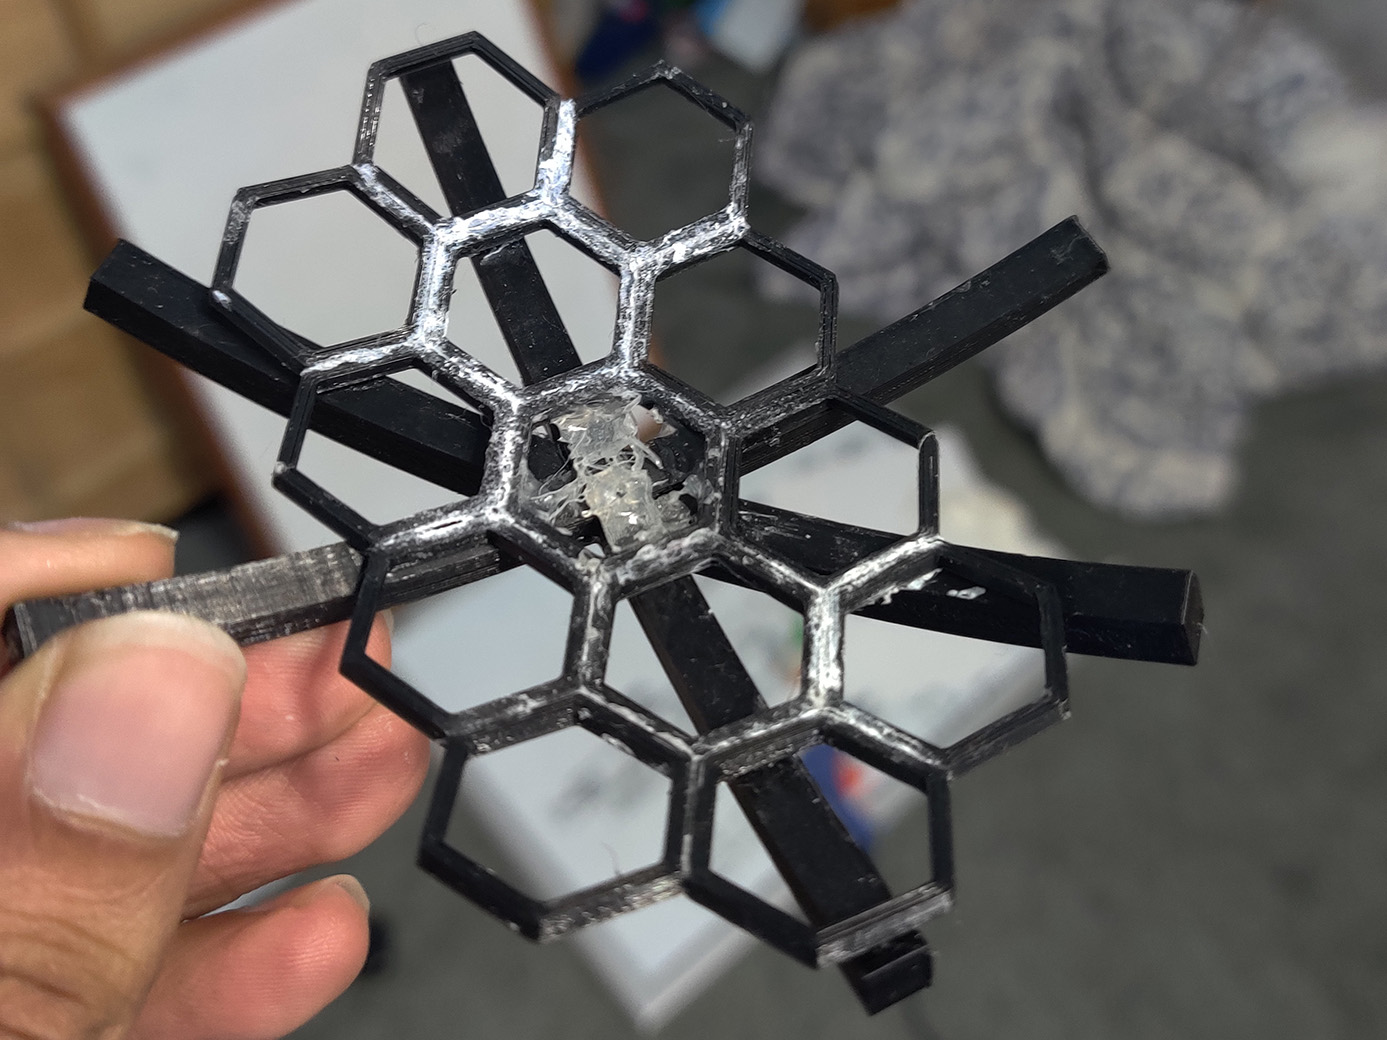
Note: The mirror was actually three separate parts, the main mirror and two side panels which are supposed to fold into place in the finished model. Each part had to be shaped into a paraboloid. I ended up, again, using hot glue as a temporary join between the side panels and the main mirror to make sure they all fit right.
The next step was to print out 18 hexagonal mirror segments and “gold-coat” them. I used some gold-foil origami paper I had lying around and some photo mount spray glue. I found that the maker of this model made the mirror segments slightly concave–this was a nice touch but for the resolution of most 3d printers ended up just being 3 concave steps. Using the flat side of the mirror panel made it look much nicer. If I had to do this again, I might print these in gold PLA or use gold spray paint instead.
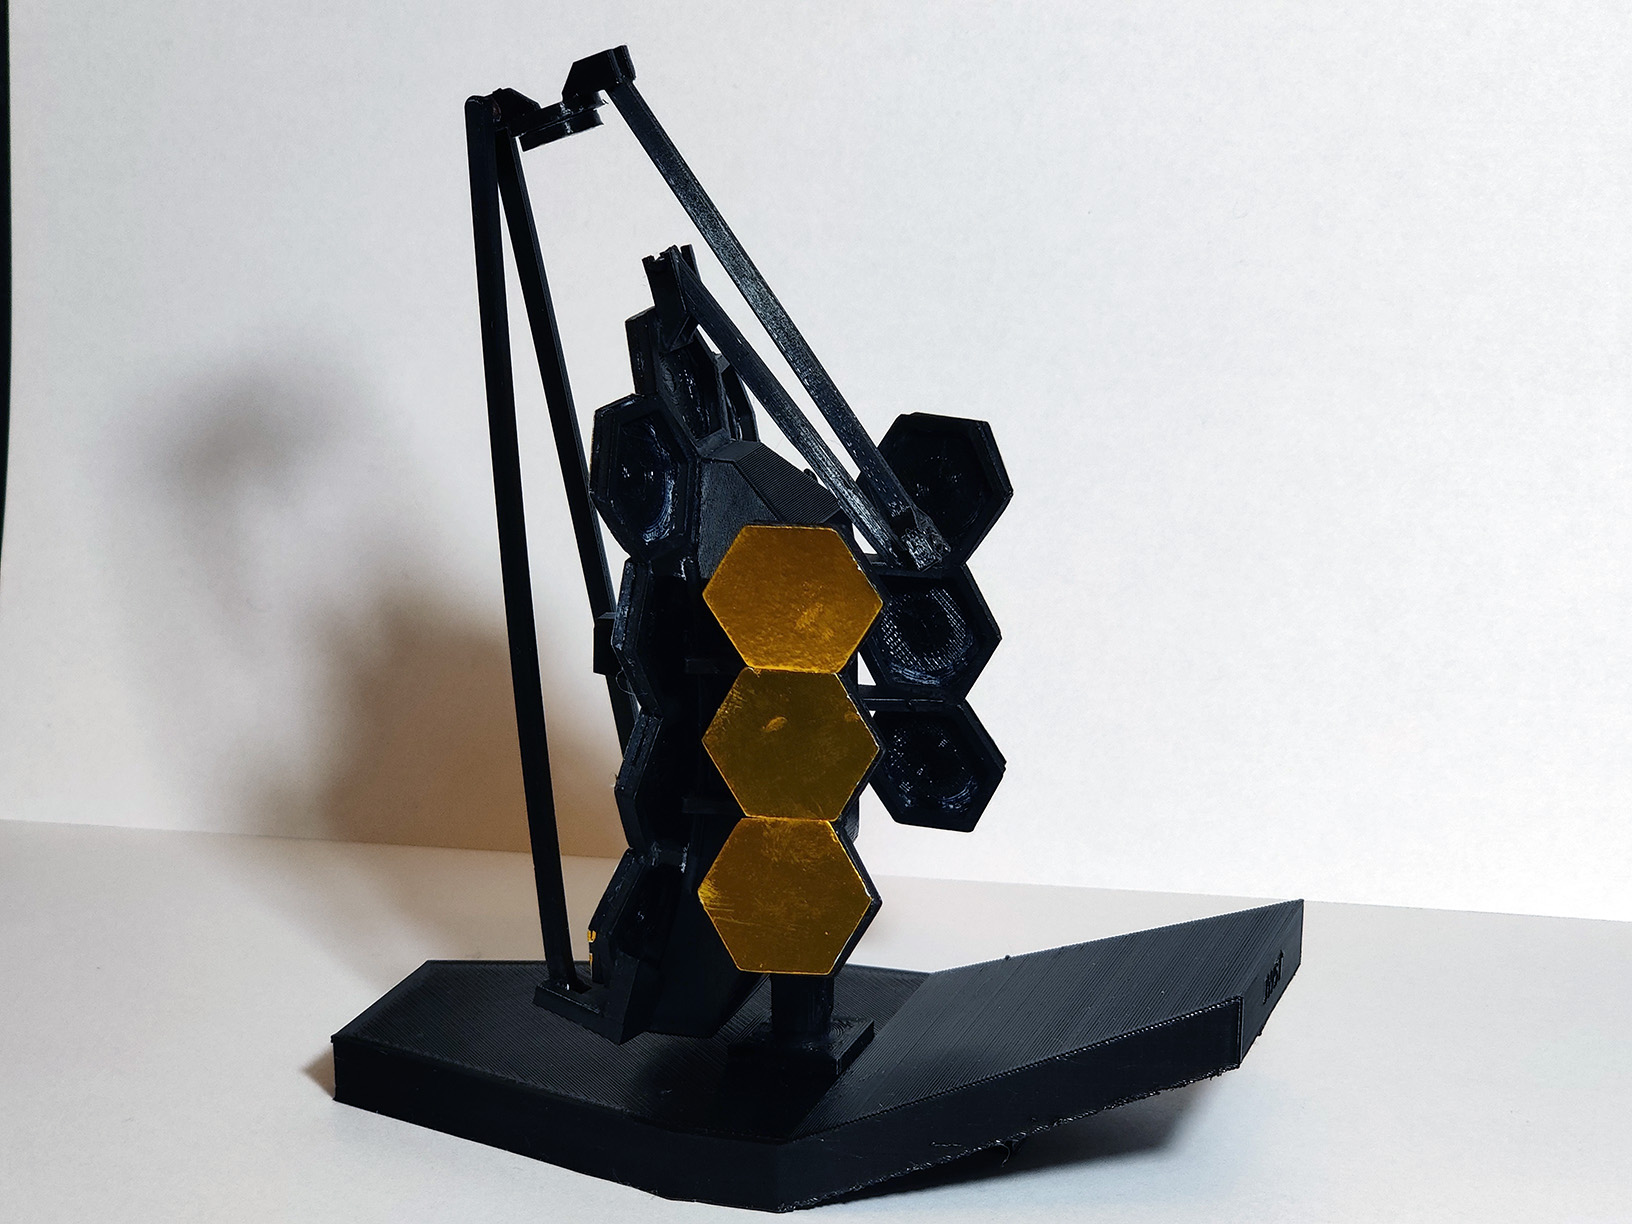
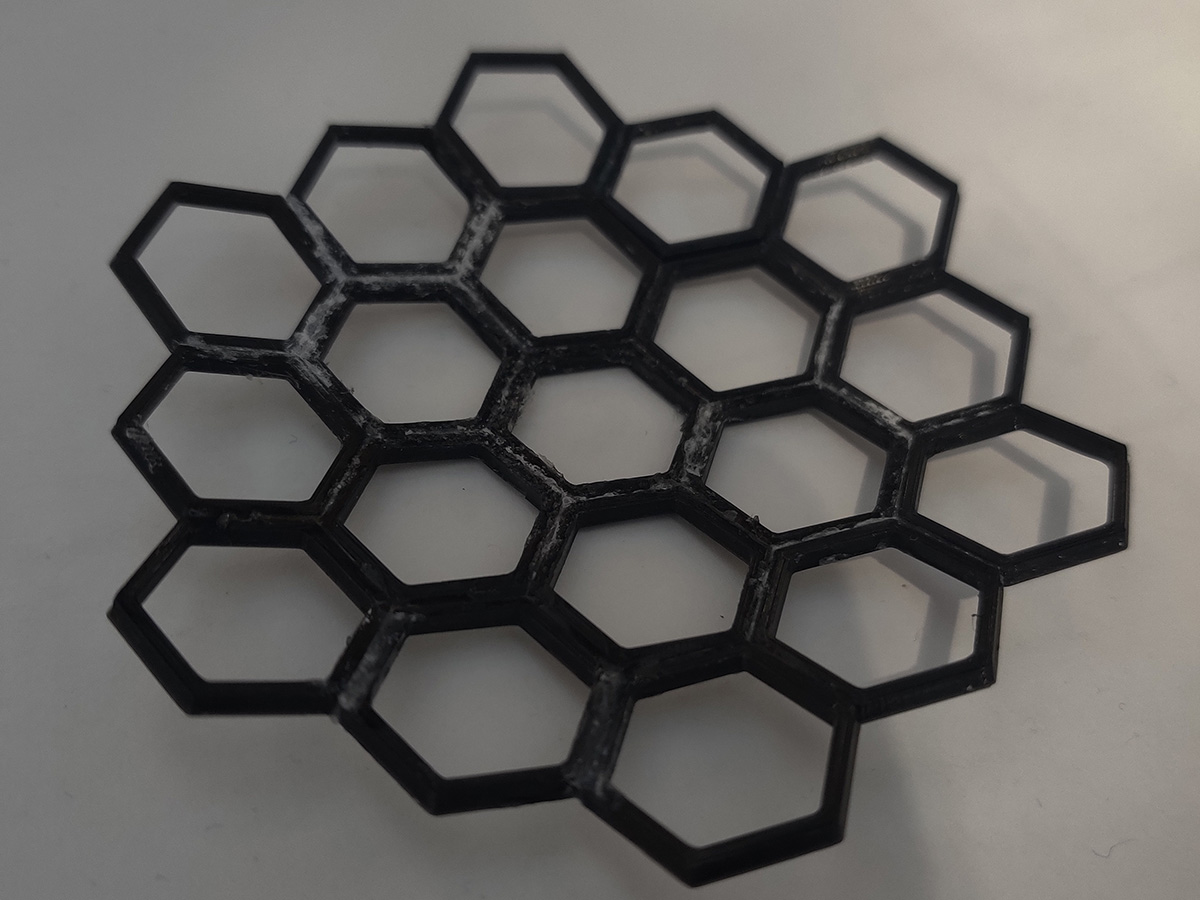
I then got to work on printing and assembling the hinges and folding components of the model. These small parts were very hard to print and the fine details would often result in the printer being unable to lay down the first layer. I solved this by adding a brim, which made it much easier to print these small parts. I glued the hinges on with superglue and soon had both folding mirror panels and the folding secondary mirror assembly attached to the mirror supports. I then masked off the hinge mechanisms and spray painted these segments with matte black spray paint to get rid of the white superglue residue. Lastly, I printed out the base and back structure and glued them to the mirror assembly. At this point, the mirror panels were not yet added, so it looked like this:
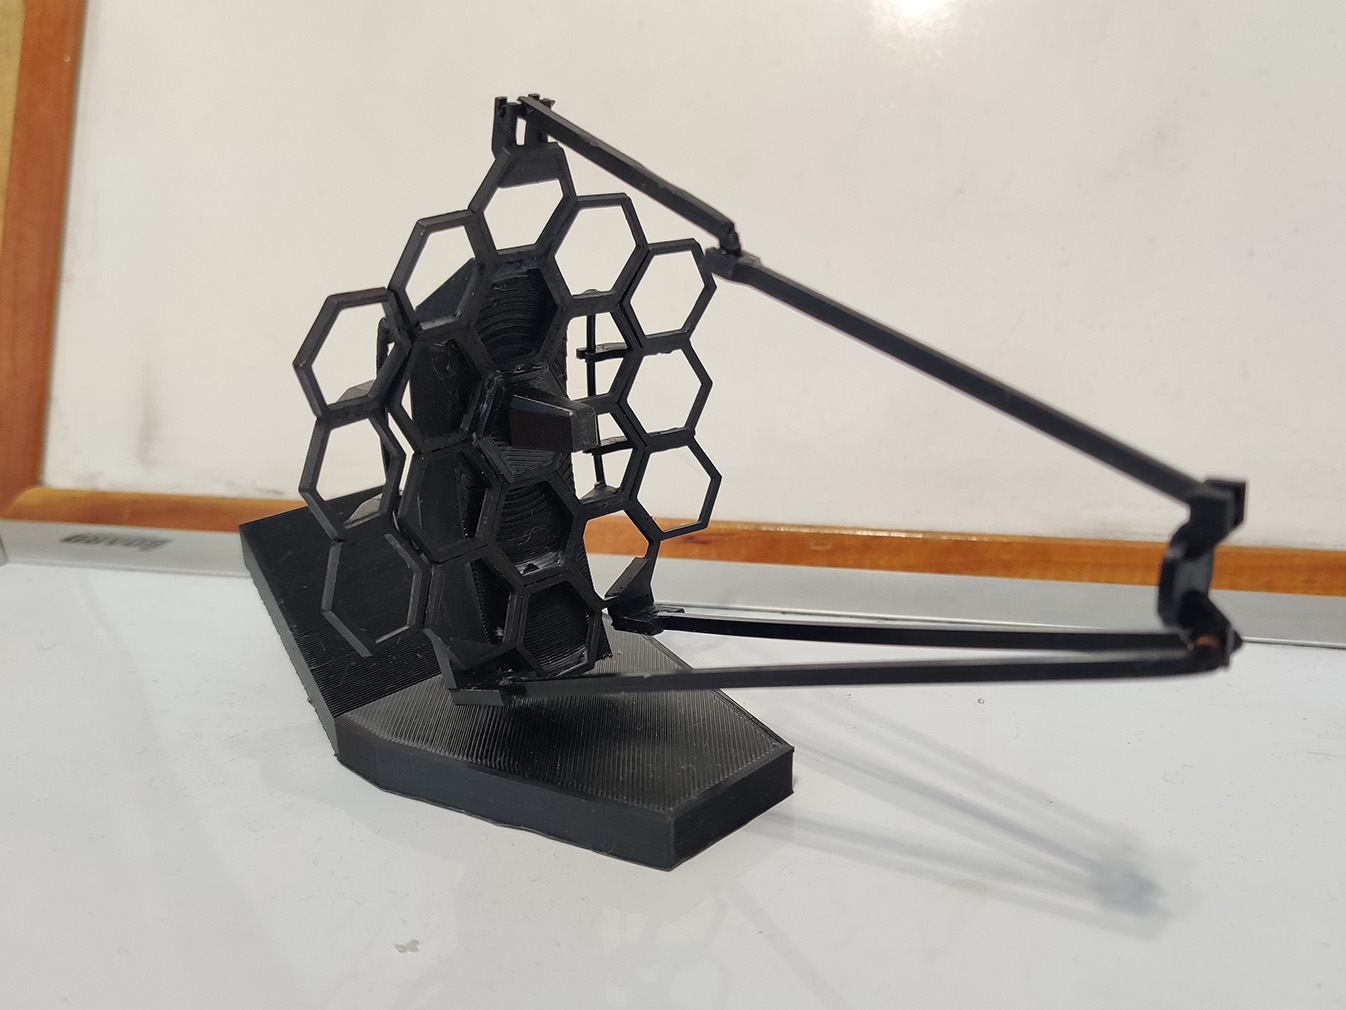
The last stage was gluing the mirror panels on, one at a time. It was at this point that I realized superglue dissolves the coating on the gold foil paper–I needed to use superglue gel and was very careful to get as little residue on the mirrors as possible.
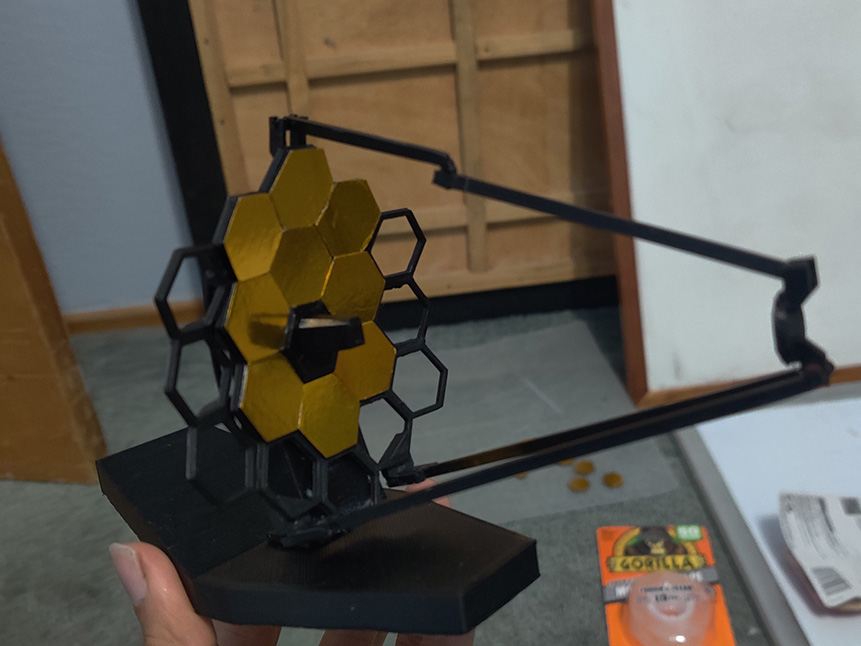
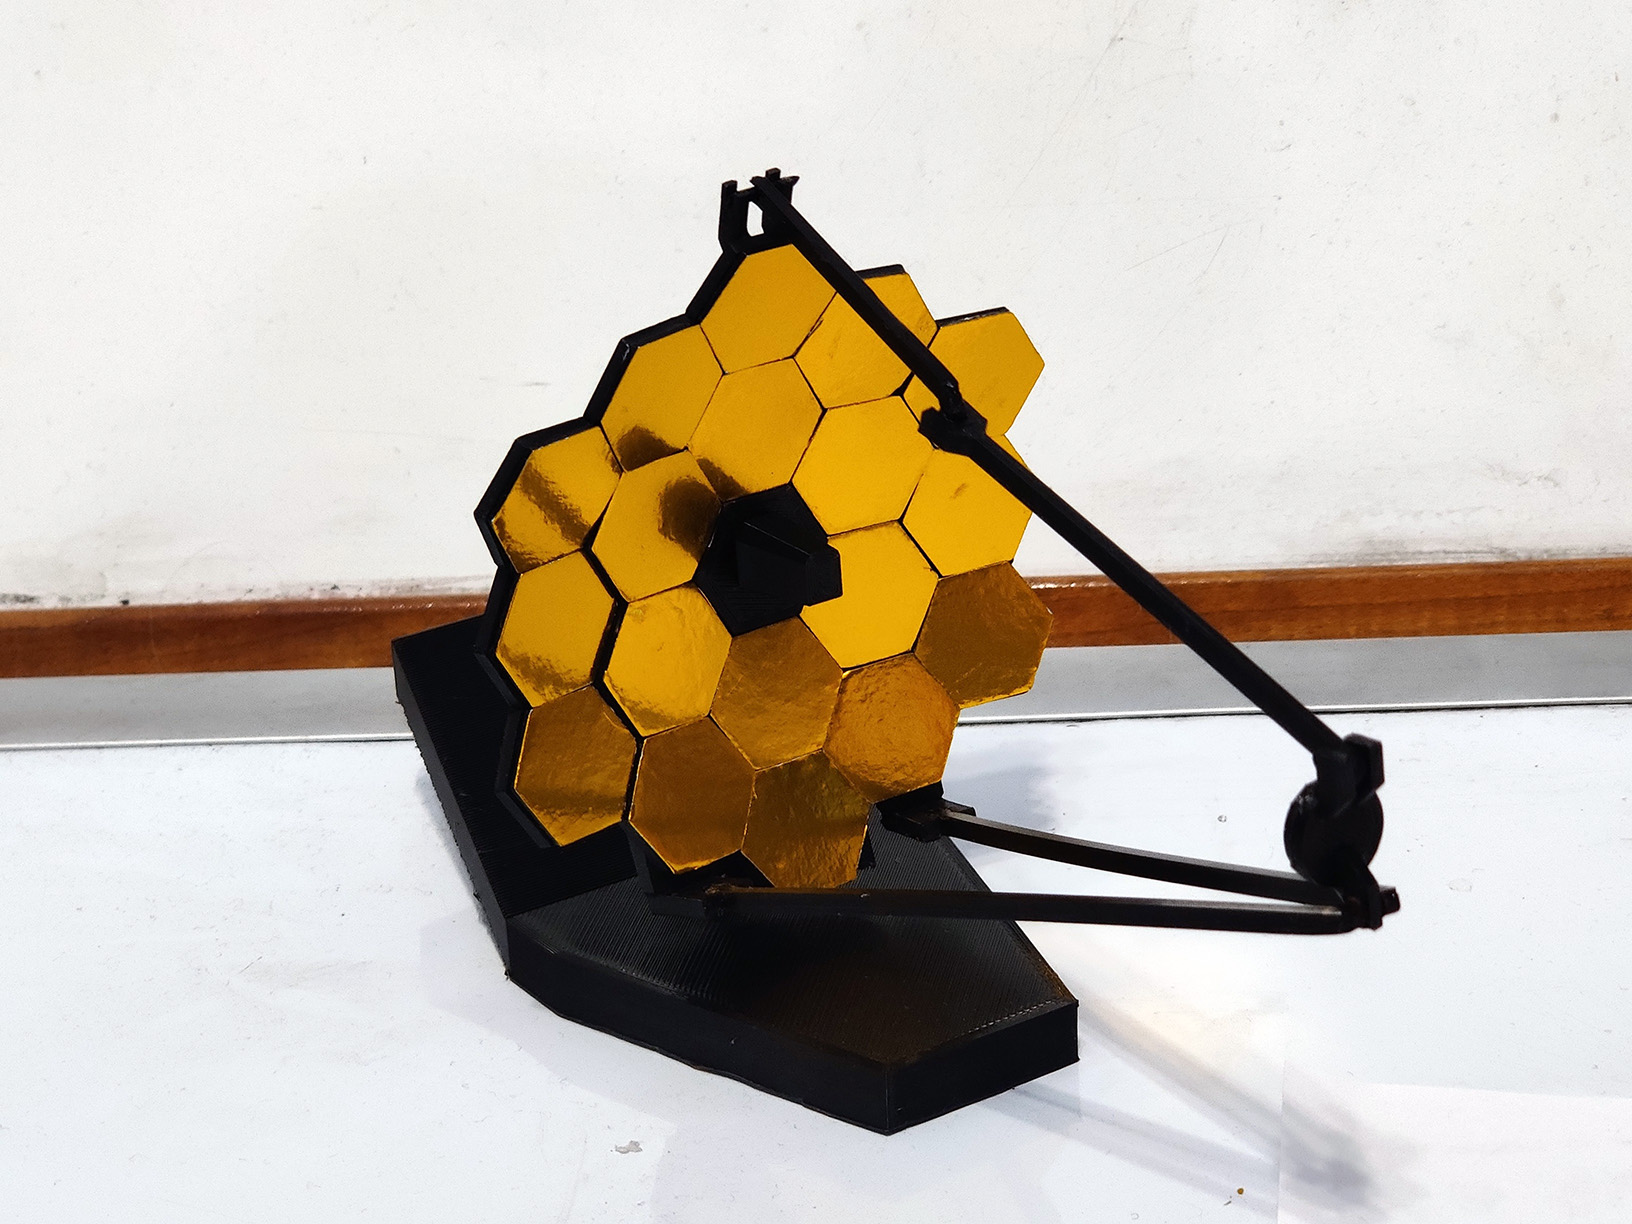
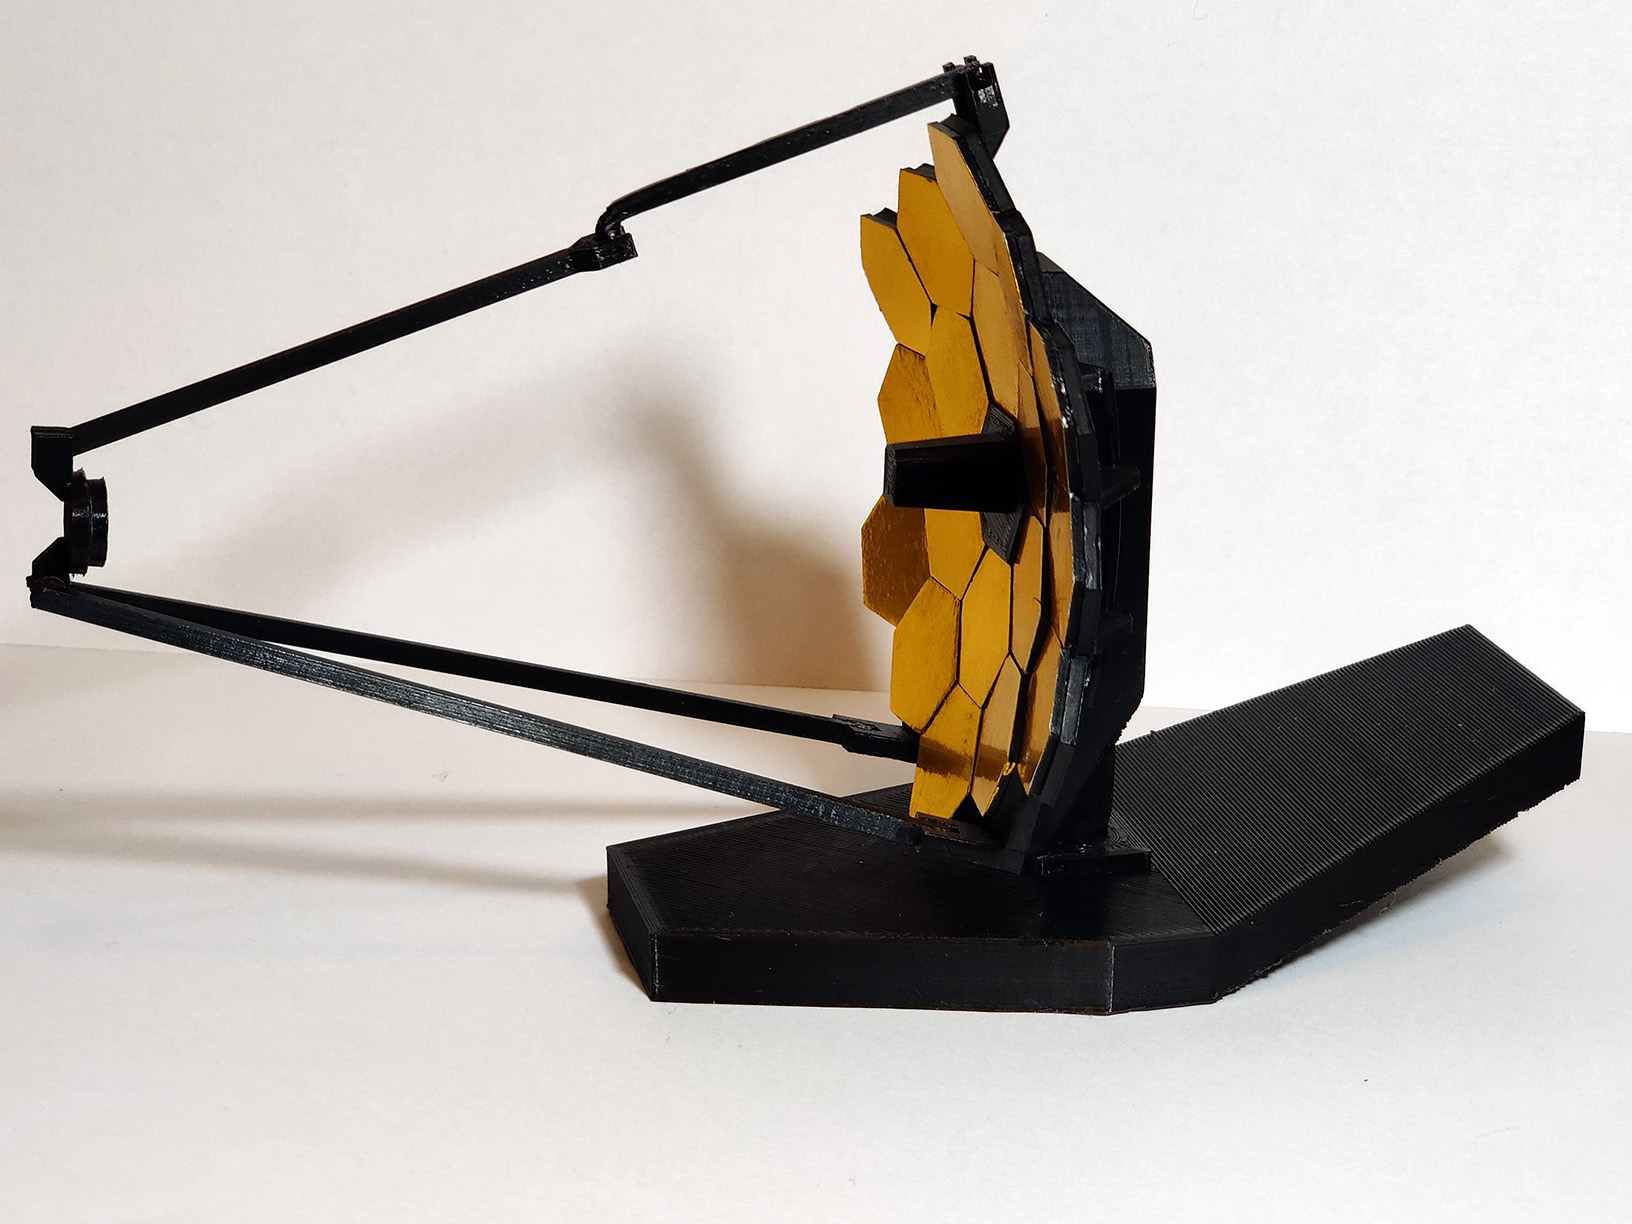
The finished model!
The last step of the process was to glue the secondary mirror, also gold-paper coated, to the secondary structure. Here’s the finished model: